Anastasia Beverly Hills

EOTD: Anatastasia Beverly Hills "Self Made" Pallet and Violet Voss "Chocolate Swirl" Glitter

9:00 AM


The neutral shades in this Self Made pallet are just gorgeous.  Below I used the following, including some new glitter I picked up from Violet Voss, called "Chocolate Swirl".  

For the look I used the following:
Urban Decay Primer Potion - original
ABH Self Made - Hot and Cold - upper crease
ABH Self Made - Spirit Rock - deep crease/outer corner / lower lashline
ABH Self Made - Witchy - lid / lower lashline
ABH Self Made - Treasure - highlight
Violet Voss "Chocolate Swirl" - applied with their Secret Weapon Glitter Adhesive to lid
ELF Precision Liquid Eyeliner - black
Younique 3D Fiber Lash mascara


Can I just say, that Secret Weapon Glitter Adhesive holds ALL DAY LONG?!  Love this, and have reinvigorated my love for glitter because I won't have fall out!

Anastasia Beverly Hills

Anastasia Beverly Hills "Self Made" Pallet - A closeup and FOTD

9:24 AM


I was so excited to get the Anastasia Beverly Hills "Self Made" Pallet for Christmas - this is one of those I have been looking at each and every time I walk into Sephora, only to walk out without it.  

Closeups of each of the colors are below - they are very pigmented and mostly creamy.  Even the mattes glide on with ease and don't tug on your skin.  I will post a few looks with this over the upcoming days.  


FOTD

Younique Mineral Touch Foundation "Scarlet"

11:05 AM


Liquid foundation and I have a love-hate relationship.  I love the coverage I immediately get with it, but by the end of the day it either ends up cakey, in my pores, or smeared on my phone, clothes, etc.  This is why I tend to always use my good ol' standby, Laura Geller Balance 'n Brighten.  Unfortunately, this time of year being winter, I am extremely pale and finding a powder foundation that doesn't leave me looking chalky is a difficult task.  

Months ago I fell in love with the Younique 3D Moodstruck mascara, and since then have dabbled in the other products they carry.  Over the past few months they have come out with several new offerings: Splurge Cream Shadows (a must try if you haven't already), and the new Mineral Touch Liquid Foundation.  As any good salesperson will do, you will see several reviews from presenters themselves, raving about this product.  I figured I would give it a try and see what all the reviews were about.

(click the picture to get a larger view)

.  
The foundation comes in large frosted bottle, with a dropper style applicator.  Reminds me a lot of the droppers in my argan oils I use on my skin/hair.  As a result, a little goes a long way with this product, which took me a while to figure out.  In fact, the process for using this particular foundation is very different from others I have tried.  I will get to that in a bit.  


Below, this is the foundation blended with my finger on the back of my hand.  As you can see, I chose a very light shade - in fact, Scarlet is the lightest offering in the lot.  


Here is my whole face with the product on.  I did not use concealer, as I didn't need to.  To apply, take a fluffy brush and apply 5 dots on the brush, like a dice.  Blot those dots on the four points of your face - both cheeks, chin and forehead.  Then blend.  I will do a step by step with this, as it does take some getting used to, but this certainly allowed for the easiest application, with unbelievable coverage.  Yes, five dots of foundation covered my entire face!

Now you can either allow this to dry to a matte finish or top it off with your favorite setting powder.  I used a quick once-over of Bare Escentuals Mineral Veil and it worked great.  

The other thing that I loved about this?  I didn't oxidize and turn orange or yellow on me, but instead stayed true to color.  The foundation lasts all day, and didn't settle into lines or pores.  I have to say, I"m sold simply on the color alone, but everything else is an added bonus!

Younique is available online, and the foundation costs $39.  I will say, with as little as you use, this could last you a LONG time!  


Colour Prevails

Swatches: Nonie Creme Colour Prevails Eye Shimmer Powder in Gold and Eye Calligrapher Eyeliner

11:14 AM


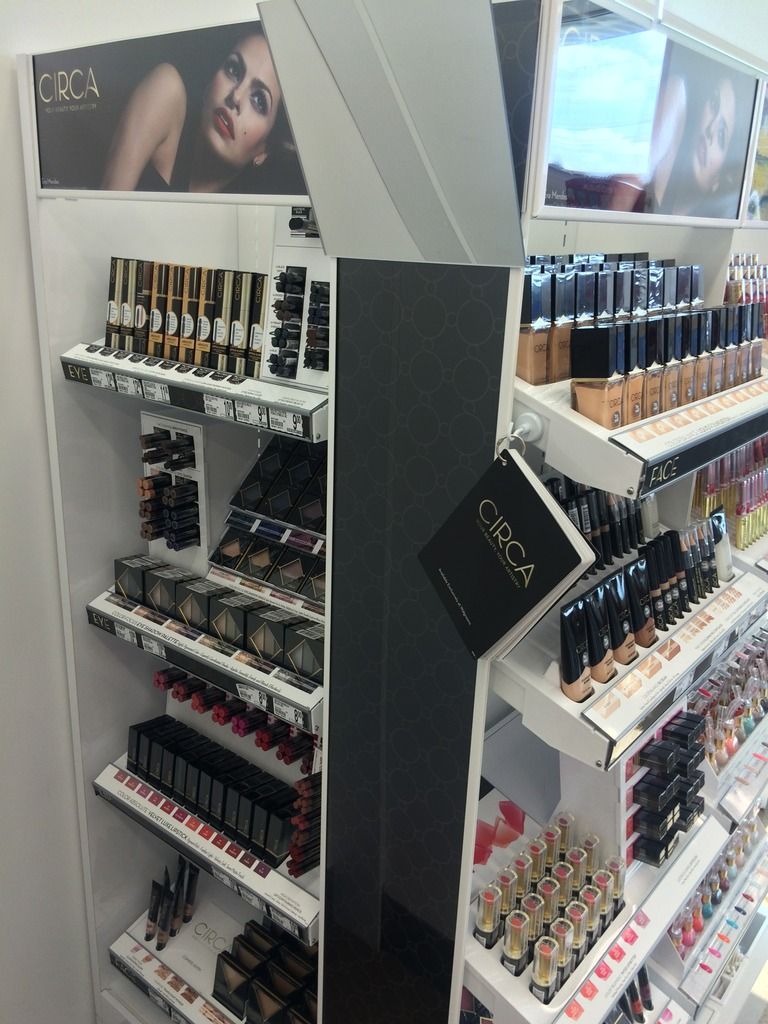
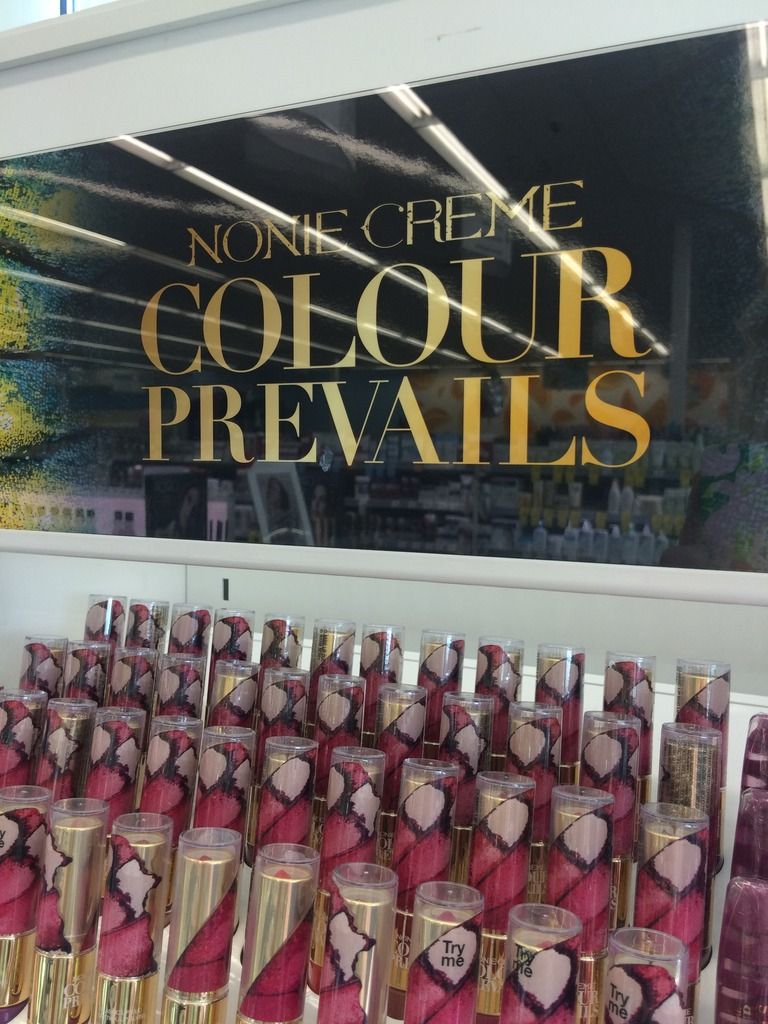
Nonie Creme Colour Prevails, a new line I have stumbled upon at Walgreens, is full of color and some of the most unique packaging I've seen recently.  I'm a sucker for butterflies, so when I saw the gorgeous colors and butterfly wings across the display piece, I immediately walked over to see what it was for.  

A full line of cosmetics, from foundation to nail polish, Colour Prevails is full of shimmer and color that isn't typically seen in the drug store scene.  Not only are the colors bold, but the packaging is beautiful too.  


I picked up an eyeliner and eyeshadow to try out.  Black Eyeliner is a staple in my makeup bag, so I'm always willing to try a new one.  The eyeshadow was about as close to true crushed gold as I've seen in a while, 


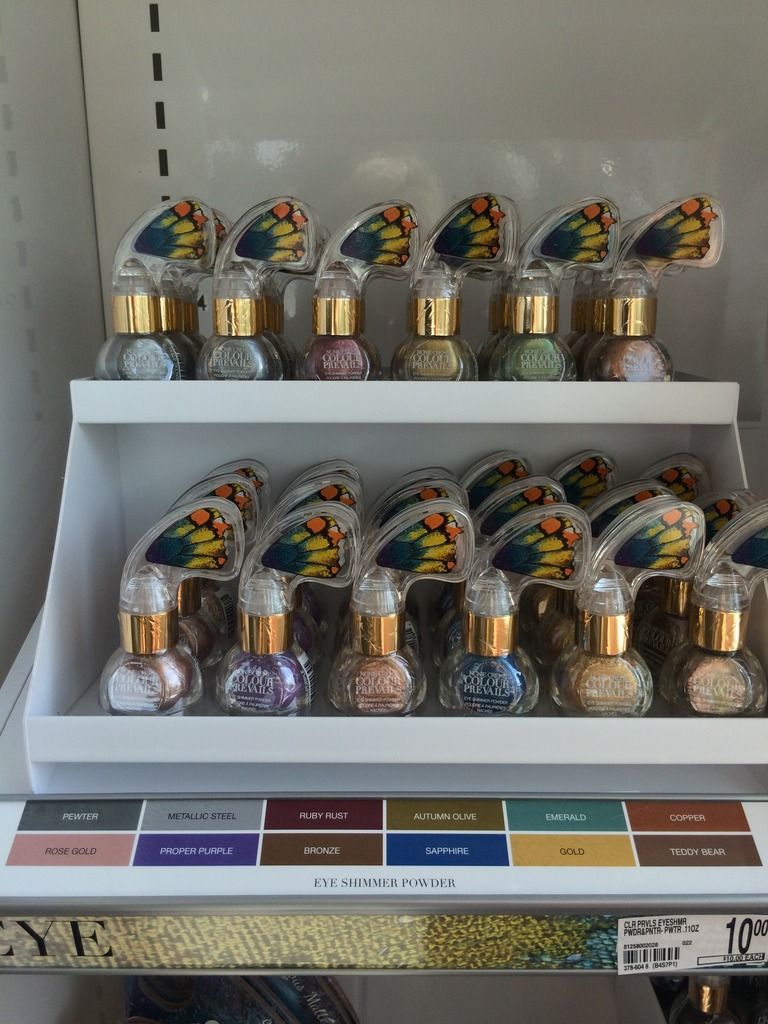
Here is a closeup of the packaging.  The "handles" are essentially butterfly wings.  At first, I thought this might be cumbersome to work with, but it actually works out quite well!


The eyshadows have a sponge applicator.  This makes for easy application, although I did dip my eyeliner brush in there to smudge along my lower lashline.  The shadow was quite pigmented, blended very easily, and lasted all day.  This color, appropriately named Gold, along with the other eyeshadows are $10 in the Walgreens store and on their website.  


The Eye Calligraphy Eyeliner has the same handle, with a super fine tipped applicator.  I used this applicator, but actually switched over to dipping my eyeliner brush in the bottle because I prefer to use brushes, not felt/rubber tipped applicators for my eyeliner.  There are several colors available (see below) and these run for $9 at Walgreens.  


Swatches below - as you can see, the eyeliner applicator truly gets a thin, smooth line with one dip.  I am just weird in that I prefer a brush!  


Below is an EOTD using the Gold eyeshadow and the Black eyeliner.  Full face as well.  The eyeshadow wore all day without any issue.  I did use it over my UDPP.  The eyeliner applied smoothly, but I did start to experience some "chipping" in the corner by the end of the day.  I always have this happen with liquid liners, so I do tend to use gel liners more often than not.  I will say, though, the smooth and pigmented liquid liner was a breeze to apply!  


Have you seen or tried these products yet?  I would love to hear your feedback about the rest of the line!


Eyeshadow

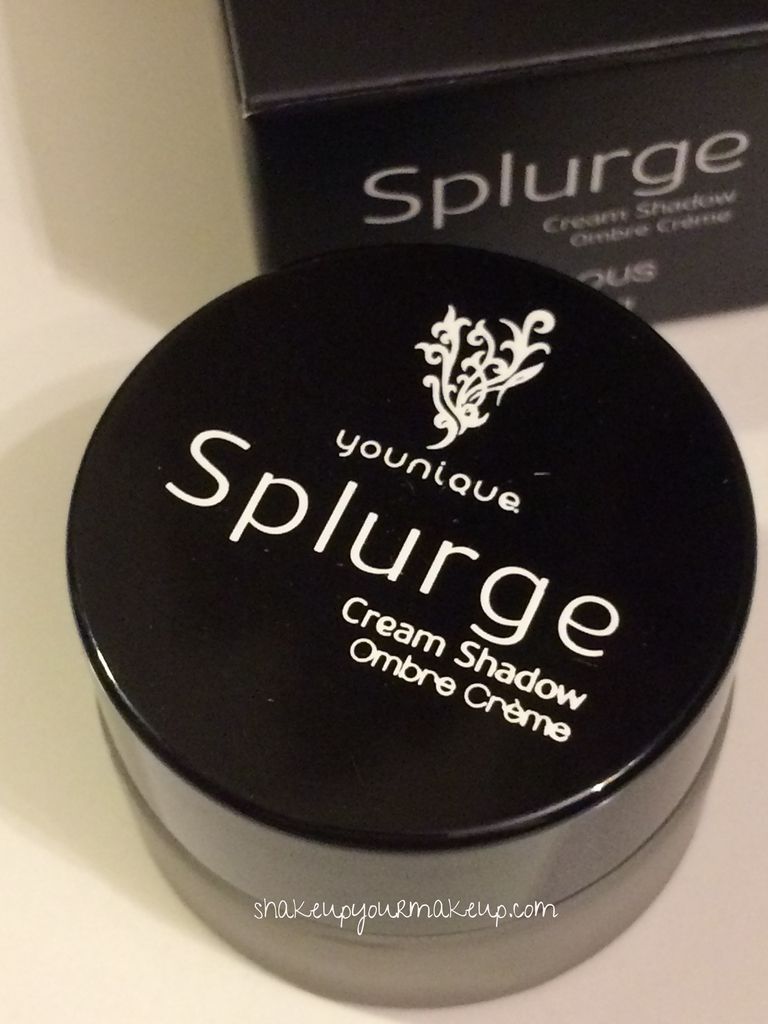
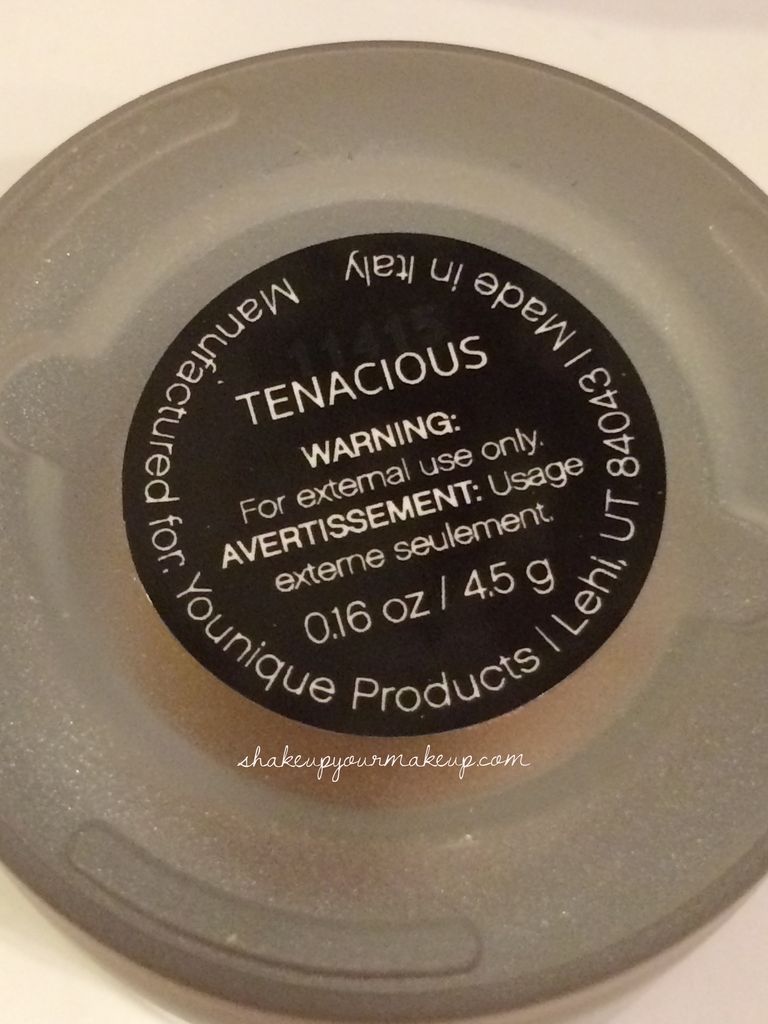
Younique Splurge Cream Eyeshadow in Tenacious - Review and Swatches

11:53 AM


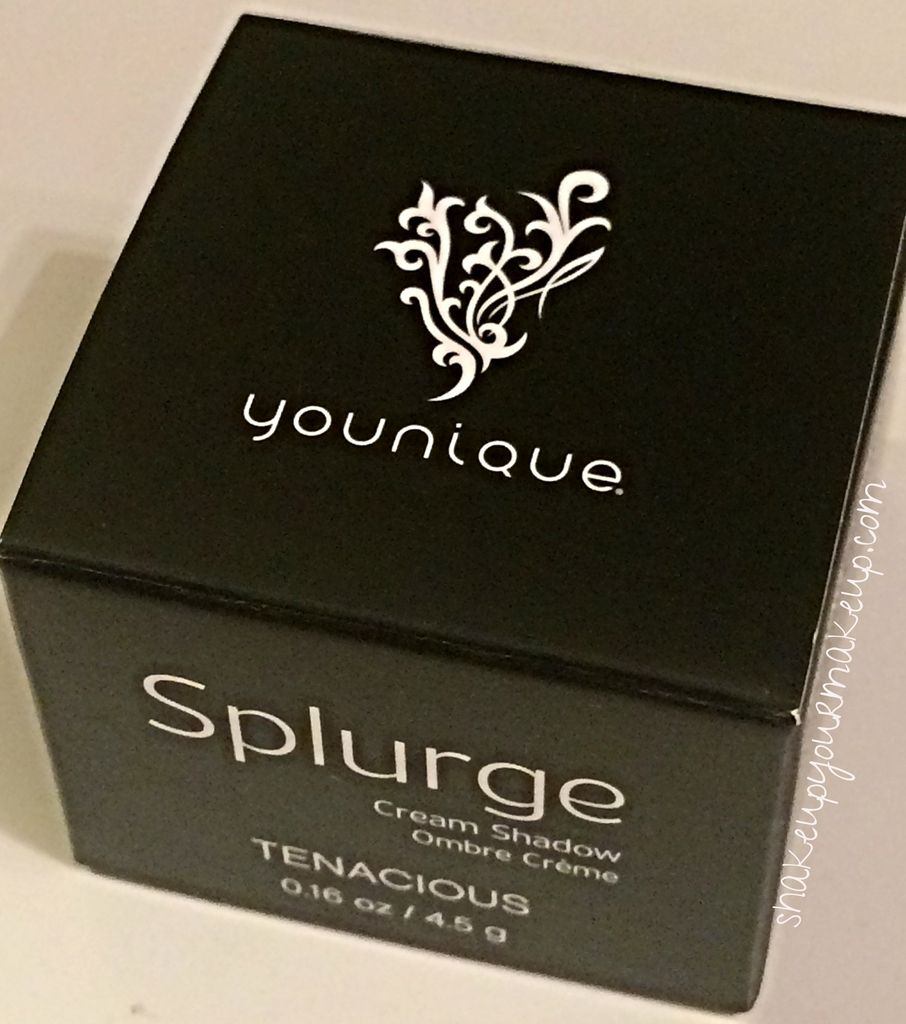
Cream eyeshadows and I have had our differences over the years.  Not only do they tend to crease and smear all over, they irritate my eyes beyond belief.  With that said, I had read some great reviews about the new Younique Splurge Cream Shadows, and decided to give them a try.  

The Splurge eyeshadows come in a glass pot with black lid.  Comparable in size to my NYX gel eyeliner pots, but with a larger opening, these fit nicely in your purse for travel.  


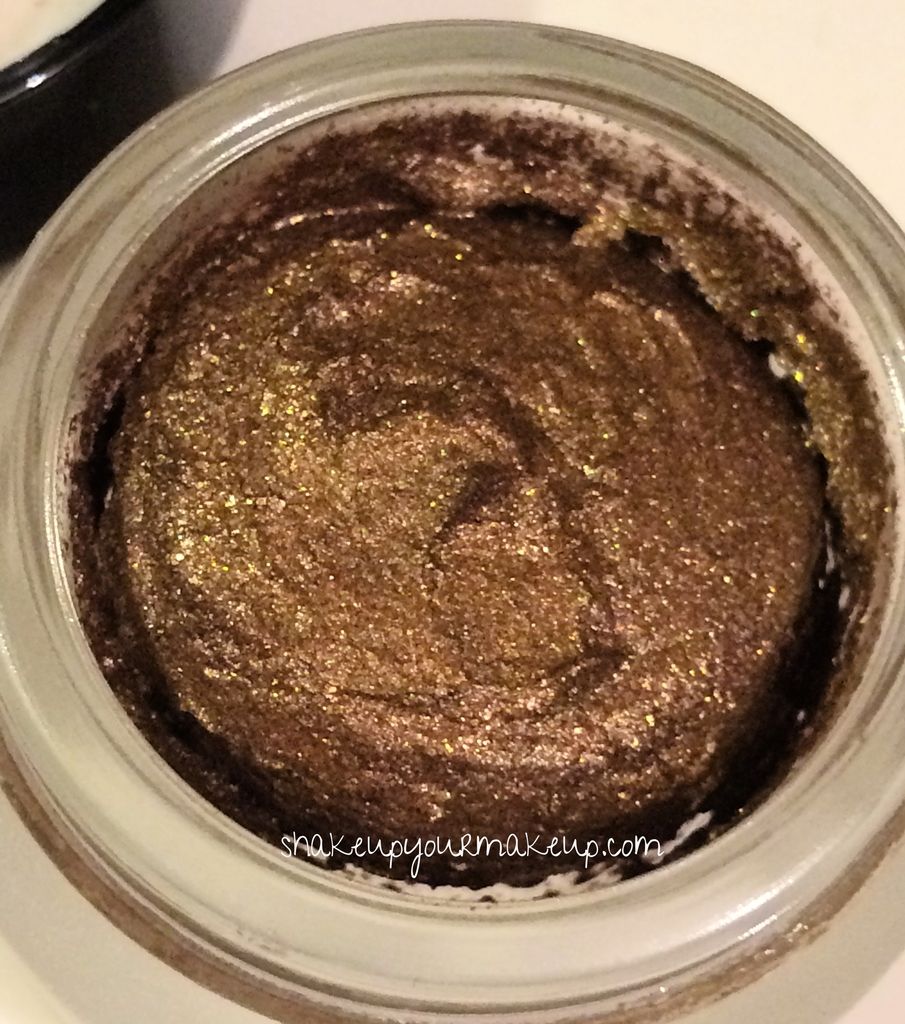
The product itself is more of a mousse, versus a cream.  Very wet and pliable, these shadows glide on effortlessly.  Use a little for a washed look, or a lot for an intense/dramatic look.  Although there are brushes available, I tend to use my finger to apply cream shadows (similar to the Color Pop eyeshadows previously swatched).  This gives me more blendability and maneuverability with the product on my lids.  

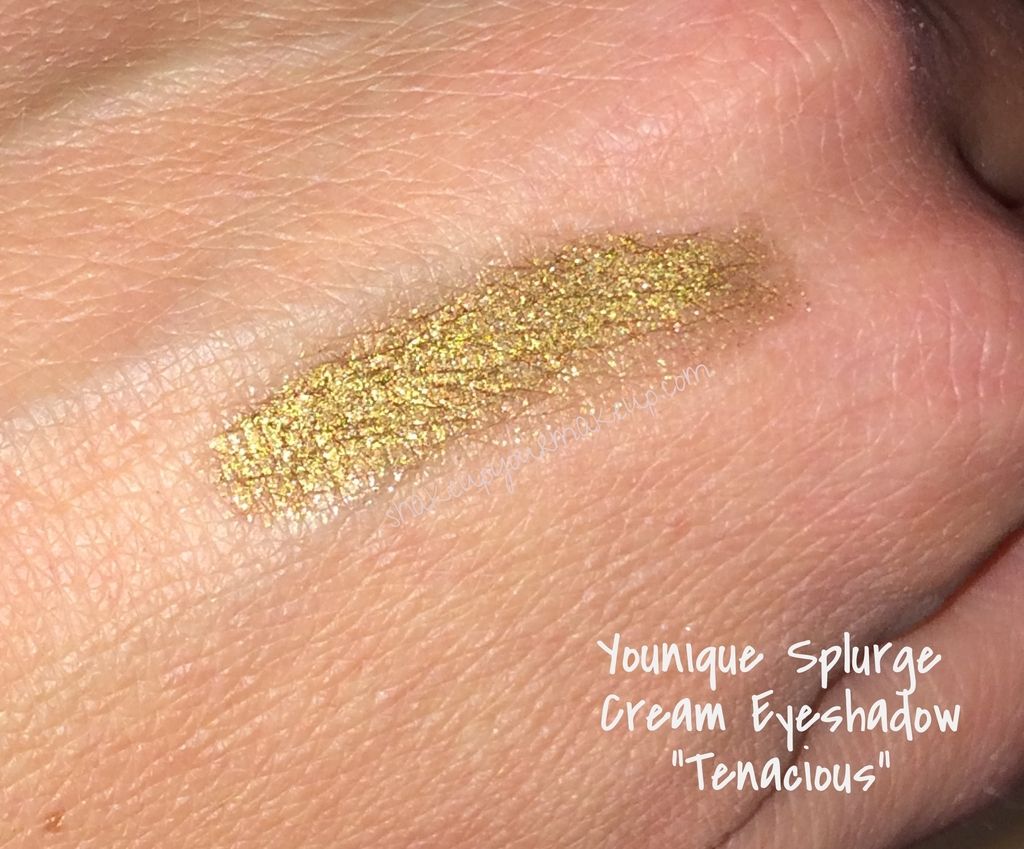
Look at how gorgeous this color is!  A rich, deep golden brown.  There is quite a bit of shimmer, but like I said, how "bold" this is on your lids is all a matter of application.  


Heavy handed swatch below.  This would be a gorgeous eyeliner - on my list of ways to try this!


Below is a quick video so you can see the shimmer and color.  This color is stunning.  A gorgeous antique golden brown.  Just enough gold to make this really pop on the lid, and the undertone shade is quite nice on many skin tones.  


Overall, this has been one of the best cream shadows for me.  Not only does it stay put - lasts all day long - it doesn't crease, smear, smudge or more importantly irritate my eyes.  Absolutely an A in my book.  The price is a little high, although you do get a lot of product and should last quite some time!

You can order this now through the Younique page here.  


ColourPop

EOTD: ColourPop Cosmetics Super Shock Eyeshadow in So Quiche

10:46 AM


ColourPop are my new found go-to eyeshadows.  I posted swatches of I *Heart* This  a couple of weeks ago, and today I am bringing you So Quiche.  This color is unbelievably complex, and unfortunately very difficult for me to capture in a picture.  The base is a rich taupe with golden olive undertones.  Depending on the light, you capture taupe, and then it shifts to olive and gold.  On top of that, there is this gorgeous multichrome glitter, which changes from pinks, purples, greens and golds.  On me, the purples really show up, which contrasts the golden/olives of the actual base of the shadow.  I absolutely love this color.  It creates the most beautiful smokey eye, works beautifully on my lower lashline to add depth to the look, and lasts all day.  Like the other ColourPop shadows, I used my finger to apply and blended out with a synthetic brush.  

A closeup of the shadow, and multiple closeups of this on are below.  I am in love!


Color Workshop

Swatches: Color Workshop Kajal & Lash Set

12:52 PM


After the holidays are over...now that's when you really can get a good bargain.  Take this Color Workshop Kajal & Lash set from Walgreens.  Regular price, $5...but after Christmas, I found this guy 75% off, meaning it was $1.25!  Now, that is $1.25 for not one, but four Kajal eyeliners and a mascara (which immediately went into the trash as it did nothing for my lashes).  

The liners, though, where a different story.  I have to say I wasn't sure what to expect - probably chalky, brittle and non-pigmented.  These kajals were anything but - instead they were smooth.  Creamy.  Long lasting.  And VERY pigmented.  So pigmented, in fact, that the colors on my swatch did not come off after I washed my hands, or showered, or washed my hands again.  Particularly the blue.  But, a little makeup remover did the trick!  Also, they stayed put on my eyes.  No tears, not smudging in the corner....and no irritation.  For the price, I couldn't be happier with these four colors!  


The other bonus - colors other than black!  


Did any of you get lucky enough to grab these before, or after, the holidays?  

Eyeliners

Swatches of Milani's Constellation Gel Eyeliners

12:00 PM


(Milani Constellation Gel Eyeliner: Enchanted Lapis)

Milani is one of my favorite drugstore brands - not only are their "everyday" items staples in my makeup bag, but the Limited Edition offerings that are introduced into the market are always unique, typically quite beautiful, and tend to become something I want to become part of their core line.  The Milani Constellation Gel Eyeliners are no exception.  

Unfortunately, I was not able to find these in my local Wags or CVS (both displays were sold out), but I did stumble upon someone who had them up for purchase on Instagram, so I grabbed all three. Unfortunately, I have misplaced my picture of the closeup of Enchanted Opal, so please forgive me.  

Gel eyeliners are my absolute go-to when it comes to eyeliners.  Liquids tend to flake on me, pencils tug and don't last, but gels are my favorite.  The three Milani Constellation gel eyeliners are a step away from the basic blacks and browns, as these certainly are multifaceted.  Yes, the sparkle you are seeing is a spray-overlay, but the actual liner itself does have some significant complexity and shimmer to it.  These are very smooth and creamy.  A little does go a long way, too.  I also think this is very "smudge" worthy, and could create some really pretty smokey eyes.  The lasting power on these were great for me.  I did not experience any flaking or the typical "tear" that tends to develop under my outer corners of my eyes from eyeliners.  

(Milani Constellation Gel Eyeliner: Enchanted Emerald)

Swatches of these liners are below.  From left to right it is: Enchanted Opal, Enchanted Lapis and Enchanted Emerald.  Were you able to find these?  What did you think?  


ColourPop

Swatches: ColourPop Cosmetics SuperShock Eyeshadow in I "Heart" This

4:11 PM


Over Christmas I picked up some ColourPop cosmetics to give as gifts, and of course, had to try them out for myself to see what all of the hype was about. :)  If you haven't heard of ColourPop, please do a quick Google Search, YouTube Search, or Instagram #colourpop and filter down on the beauty bloggers.  You will immediately see that these are a becoming quite the sensation, and at $5 a pop (no pun intended), I can see why!

The first color I have to show you is called I "Heart" This, which is a pale, almost silvery taupe with iridescent glitter.  The texture of this is so creamy, smooth and gel-like.  I have been using my finger to apply, and let me just say, this is the easiest and most effortless application for a foil-like finish I have ever come across on any eyeshadow.  When you touch it, it's kind of *squishy*, and literally glides onto the lid.  Once set, it's set.  This sucker won't budge.  


Here is a video of it swatched - this was the only way I could think to show how complex and shiny this is!


Below is a FOTD using I "Heart" This - like I said...it's gorgeous!


3d fiber lashes

FOTD: Urban Decay Vice 3 (Downfall, Heroine, Bobby Dazzle) and Urban Decay Vice LTD Disco

3:57 PM


I have absolutely fallen in love with my two Urban Decal pallets from Christmas.  Dragon might be the best green I've worked with in a long time (used it here), but I am also loving the matte shadows in both of these sets.  I don't typically go for mattes, but I am learning how to use them to blend into creases and create some different combinations with them, although it has been a struggle because most brands matte shadows are so chalky and difficult to work with.  Not so much with UD!

I have been eyeing Heroine in the Vice3 pallet, but typically don't wear blues.  I decided to mix it with Disco and a whole lot of glitter to have some fun!

Here is the look, below:

Face:
L'Oreal True Match Liquid Foundation - N1
L'Oreal True Match Powder N1
Mally Bronzer - contour
Mally Beauty AirBrush Blush "Afterglow"
Artist Couture Diamond Glow Powder "Conceited" - highlight - BTW, if you haven't check out Artist Couture, you absolutely have to.  These will have their own post in the near future!

Eyes:
Urban Decay Primer Potion
Urban Decay Downfall - upper crease
Urban Decay Heroine - cut crease, blended into Downfall
Urban Decay Disco - lid
Urban Decay Bobby Dazzle - highlight
Mary Kate & Ashley Sequin Glitter in All Over Gold
Physician's Formula Gel Eyeliner
Younique Moodstruck 3D Fiber Lashes Mascara

Lips:


Popular Posts

Like us on Facebook