Eyeshadow

Swatches: Tarte Make Them Stare Set of 5 Amazonian Clay Waterproof Eyeshadow Sticks

10:34 AM


What is it: A set of five dazzling, waterproof shadow sticks from tarte that are infused with Amazonian clay.

Who is it for: Anyone who wants an enchanting stare this holiday season with a mix of soft, wearable eye shadow shades.

Why is it different: The creamy, Amazonian-infused shadow sticks are back! These waterproof, velvety-smooth wands glide on like silk and wear like iron. The set offers an array of must-have shades that deliver gorgeous, budge-proof pigment for any occasion. Perfectly packaged in a festive gift box, these ultra-portable and easy-to-apply cream shadows make a dazzling gift for any girl who's dashing through her day.

How do I use it: Apply each shade directly to your lid. Then, using your fingertip or a shadow brush, gently blend up toward the crease. For a more dramatic look, gently smudge along the lower lash line.

From tarte.

Includes:
  • 0.058-oz Amazonian Clay Shadow Wand in Copper, a shimmering copper shade
  • 0.058-oz Amazonian Clay Shadow Wand in Sugar Plum, a shimmering plum shade
  • 0.058-oz Amazonian Clay Shadow Wand in Champagne Pearl, a shimmering champagne shade
  • 0.058-oz Amazonian Clay Shadow Wand in Smoky Topaz, a creamy taupe shade
  • 0.058-oz Amazonian Clay Shadow Wand in Sage, a shimmering olive green shade


If you are an eyeshadow crayon lover, these are absolutely fantastic!  The colors are very pigmented, very blendable, and once set, do not budge.  I love using these on my lower lashline, which tends to carry my eyeliner all over my face :(  Not with these though!

My go to shade has been the Sage and the Champagne Pearl (two colors on the right).  The Champagne is a great highlighter, and also helps brighten the eyes, eyebrows, and even as a highlight for your blush.  

There is a video below which really shows the intensity of these shadows.  I absolutely love them!


I purchased this set over the holidays on QVC, but they are no longer available.  I did find a similar set on Macy's website for $35, as well as the Tarte website for $9 each.  
FOTD

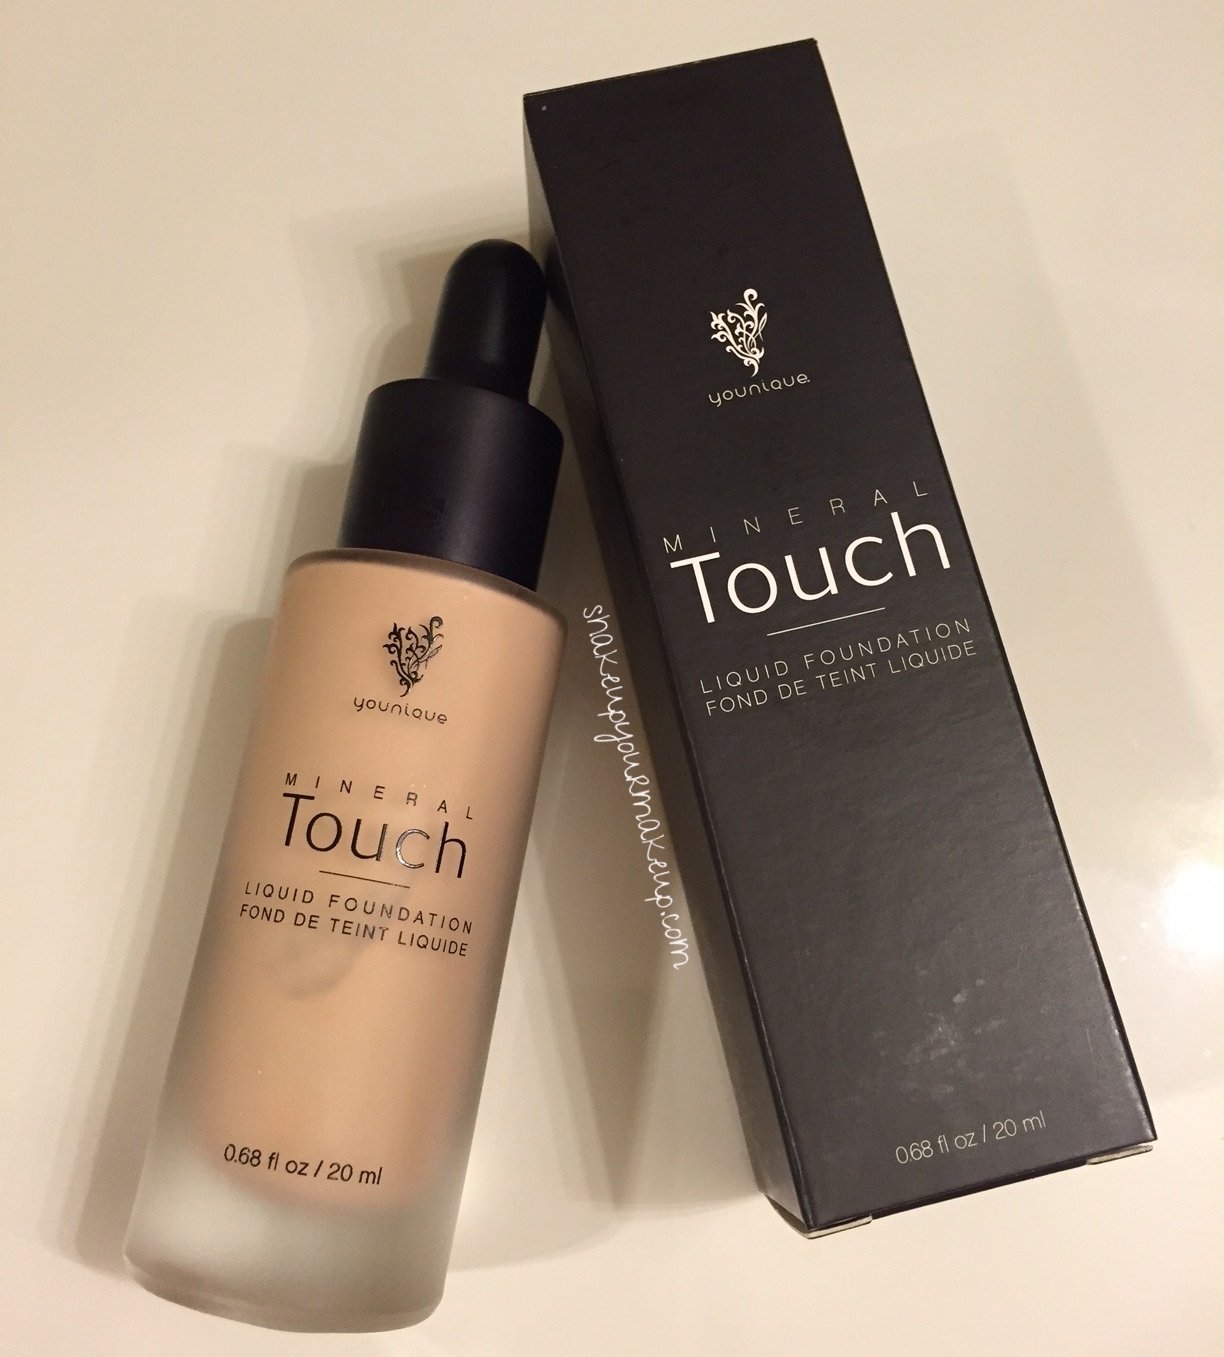
Younique Mineral Touch Foundation "Scarlet"

11:05 AM


Liquid foundation and I have a love-hate relationship.  I love the coverage I immediately get with it, but by the end of the day it either ends up cakey, in my pores, or smeared on my phone, clothes, etc.  This is why I tend to always use my good ol' standby, Laura Geller Balance 'n Brighten.  Unfortunately, this time of year being winter, I am extremely pale and finding a powder foundation that doesn't leave me looking chalky is a difficult task.  

Months ago I fell in love with the Younique 3D Moodstruck mascara, and since then have dabbled in the other products they carry.  Over the past few months they have come out with several new offerings: Splurge Cream Shadows (a must try if you haven't already), and the new Mineral Touch Liquid Foundation.  As any good salesperson will do, you will see several reviews from presenters themselves, raving about this product.  I figured I would give it a try and see what all the reviews were about.

(click the picture to get a larger view)

.  
The foundation comes in large frosted bottle, with a dropper style applicator.  Reminds me a lot of the droppers in my argan oils I use on my skin/hair.  As a result, a little goes a long way with this product, which took me a while to figure out.  In fact, the process for using this particular foundation is very different from others I have tried.  I will get to that in a bit.  


Below, this is the foundation blended with my finger on the back of my hand.  As you can see, I chose a very light shade - in fact, Scarlet is the lightest offering in the lot.  


Here is my whole face with the product on.  I did not use concealer, as I didn't need to.  To apply, take a fluffy brush and apply 5 dots on the brush, like a dice.  Blot those dots on the four points of your face - both cheeks, chin and forehead.  Then blend.  I will do a step by step with this, as it does take some getting used to, but this certainly allowed for the easiest application, with unbelievable coverage.  Yes, five dots of foundation covered my entire face!

Now you can either allow this to dry to a matte finish or top it off with your favorite setting powder.  I used a quick once-over of Bare Escentuals Mineral Veil and it worked great.  

The other thing that I loved about this?  I didn't oxidize and turn orange or yellow on me, but instead stayed true to color.  The foundation lasts all day, and didn't settle into lines or pores.  I have to say, I"m sold simply on the color alone, but everything else is an added bonus!

Younique is available online, and the foundation costs $39.  I will say, with as little as you use, this could last you a LONG time!  


Colour Prevails

Swatches: Nonie Creme Colour Prevails Eye Shimmer Powder in Gold and Eye Calligrapher Eyeliner

11:14 AM


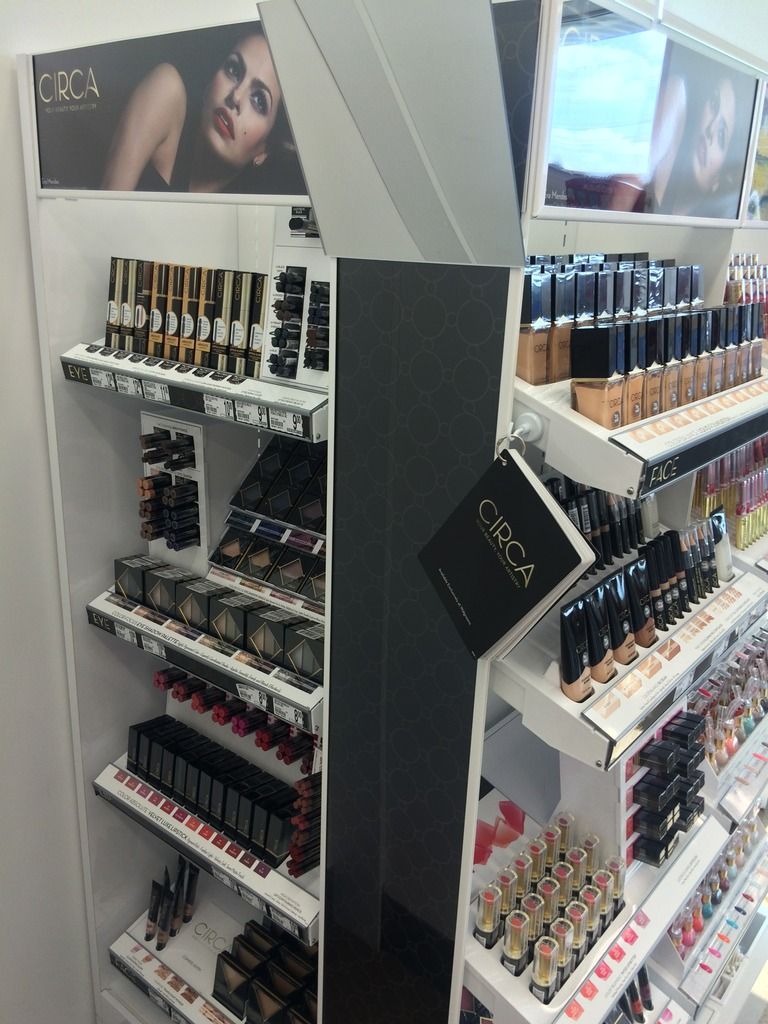
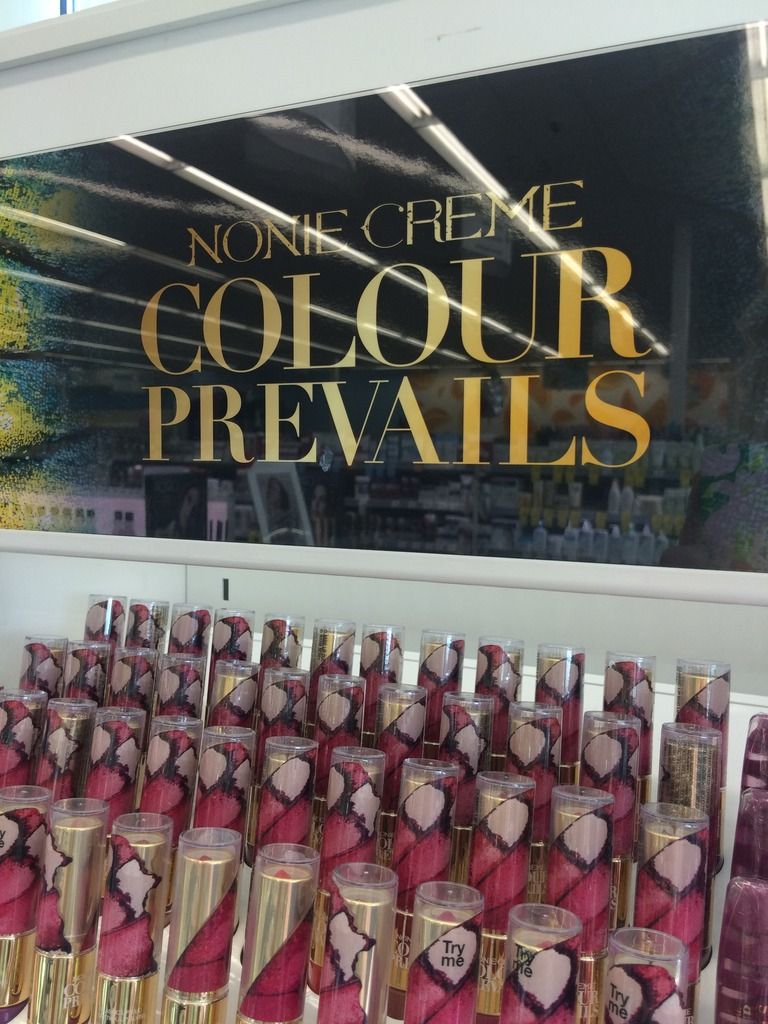
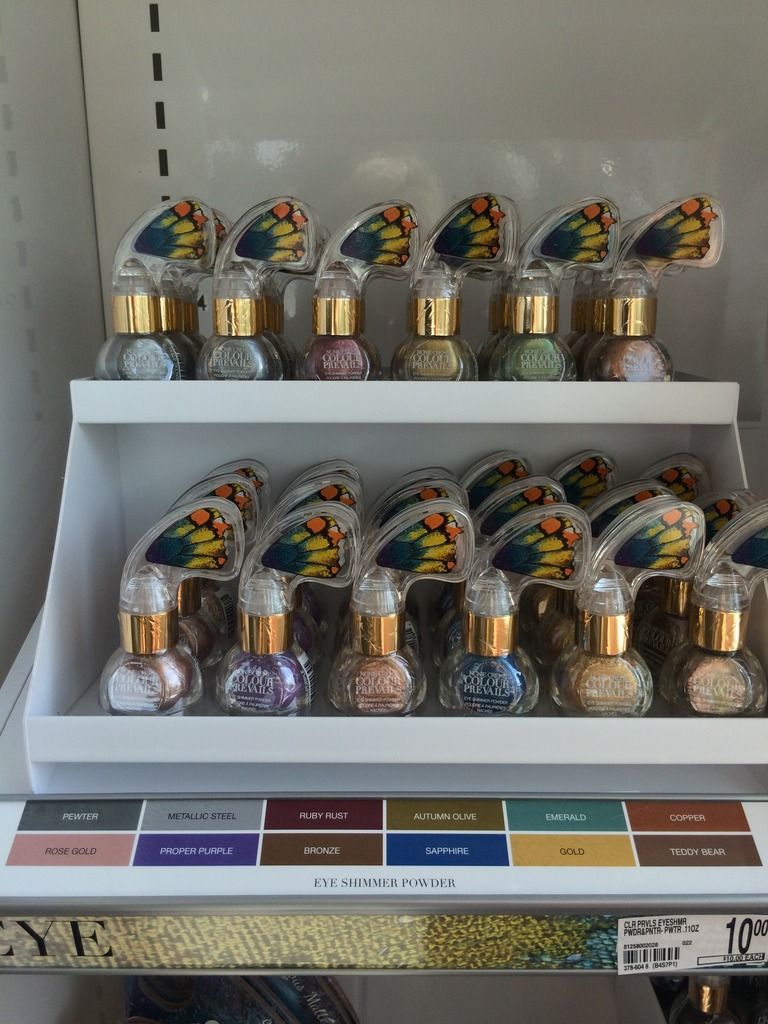
Nonie Creme Colour Prevails, a new line I have stumbled upon at Walgreens, is full of color and some of the most unique packaging I've seen recently.  I'm a sucker for butterflies, so when I saw the gorgeous colors and butterfly wings across the display piece, I immediately walked over to see what it was for.  

A full line of cosmetics, from foundation to nail polish, Colour Prevails is full of shimmer and color that isn't typically seen in the drug store scene.  Not only are the colors bold, but the packaging is beautiful too.  


I picked up an eyeliner and eyeshadow to try out.  Black Eyeliner is a staple in my makeup bag, so I'm always willing to try a new one.  The eyeshadow was about as close to true crushed gold as I've seen in a while, 


Here is a closeup of the packaging.  The "handles" are essentially butterfly wings.  At first, I thought this might be cumbersome to work with, but it actually works out quite well!


The eyshadows have a sponge applicator.  This makes for easy application, although I did dip my eyeliner brush in there to smudge along my lower lashline.  The shadow was quite pigmented, blended very easily, and lasted all day.  This color, appropriately named Gold, along with the other eyeshadows are $10 in the Walgreens store and on their website.  


The Eye Calligraphy Eyeliner has the same handle, with a super fine tipped applicator.  I used this applicator, but actually switched over to dipping my eyeliner brush in the bottle because I prefer to use brushes, not felt/rubber tipped applicators for my eyeliner.  There are several colors available (see below) and these run for $9 at Walgreens.  


Swatches below - as you can see, the eyeliner applicator truly gets a thin, smooth line with one dip.  I am just weird in that I prefer a brush!  


Below is an EOTD using the Gold eyeshadow and the Black eyeliner.  Full face as well.  The eyeshadow wore all day without any issue.  I did use it over my UDPP.  The eyeliner applied smoothly, but I did start to experience some "chipping" in the corner by the end of the day.  I always have this happen with liquid liners, so I do tend to use gel liners more often than not.  I will say, though, the smooth and pigmented liquid liner was a breeze to apply!  


Have you seen or tried these products yet?  I would love to hear your feedback about the rest of the line!


Eyeshadow

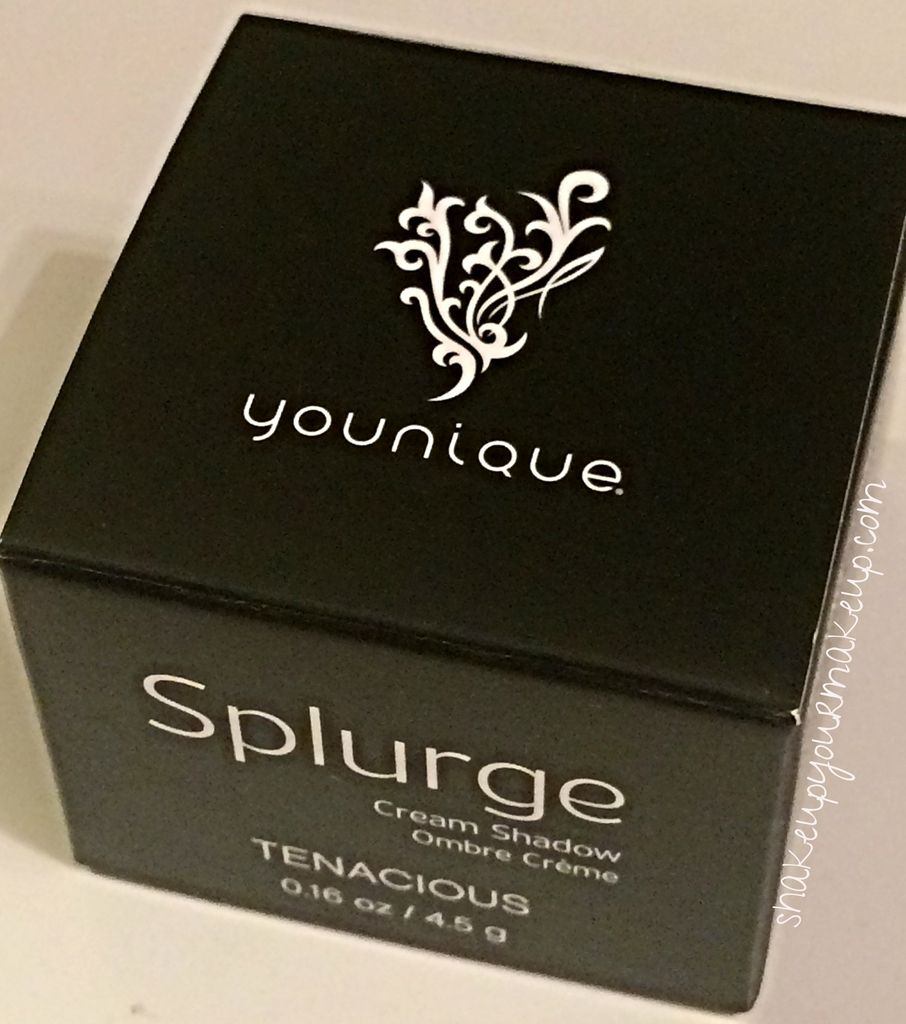
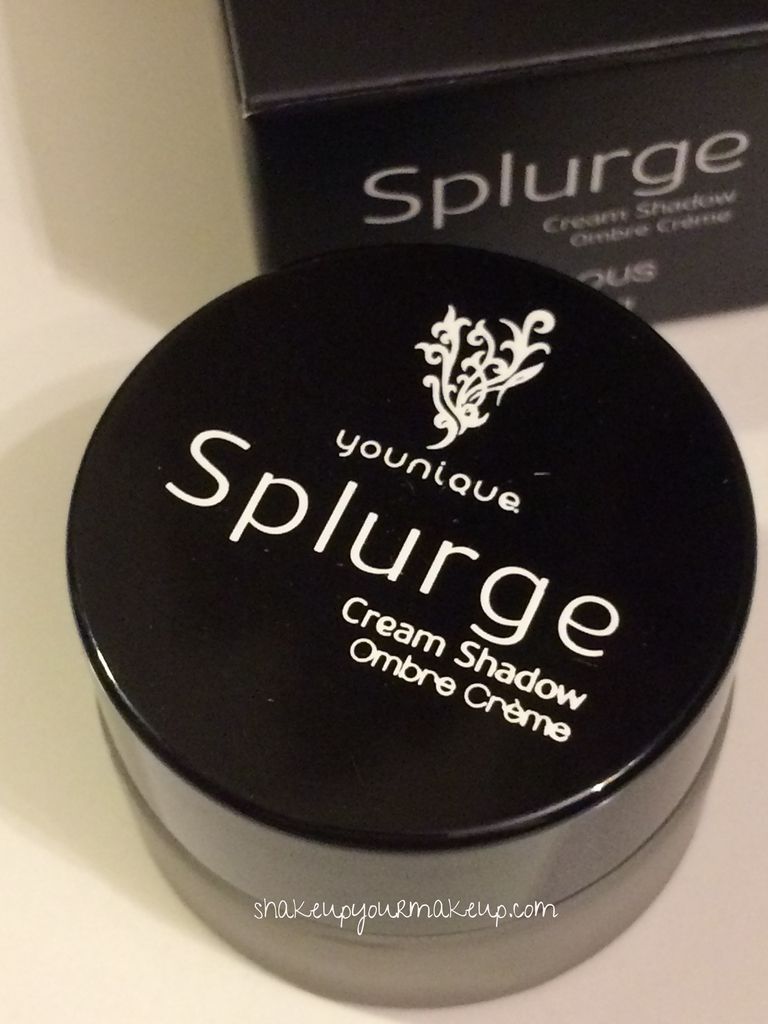
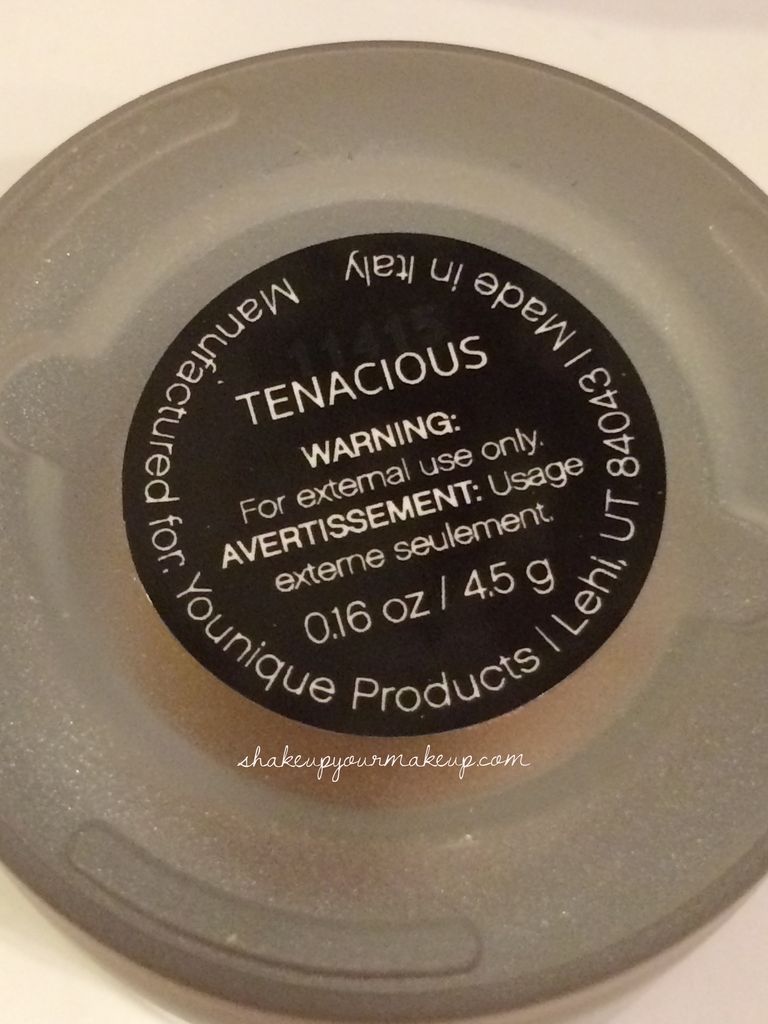
Younique Splurge Cream Eyeshadow in Tenacious - Review and Swatches

11:53 AM


Cream eyeshadows and I have had our differences over the years.  Not only do they tend to crease and smear all over, they irritate my eyes beyond belief.  With that said, I had read some great reviews about the new Younique Splurge Cream Shadows, and decided to give them a try.  

The Splurge eyeshadows come in a glass pot with black lid.  Comparable in size to my NYX gel eyeliner pots, but with a larger opening, these fit nicely in your purse for travel.  


The product itself is more of a mousse, versus a cream.  Very wet and pliable, these shadows glide on effortlessly.  Use a little for a washed look, or a lot for an intense/dramatic look.  Although there are brushes available, I tend to use my finger to apply cream shadows (similar to the Color Pop eyeshadows previously swatched).  This gives me more blendability and maneuverability with the product on my lids.  

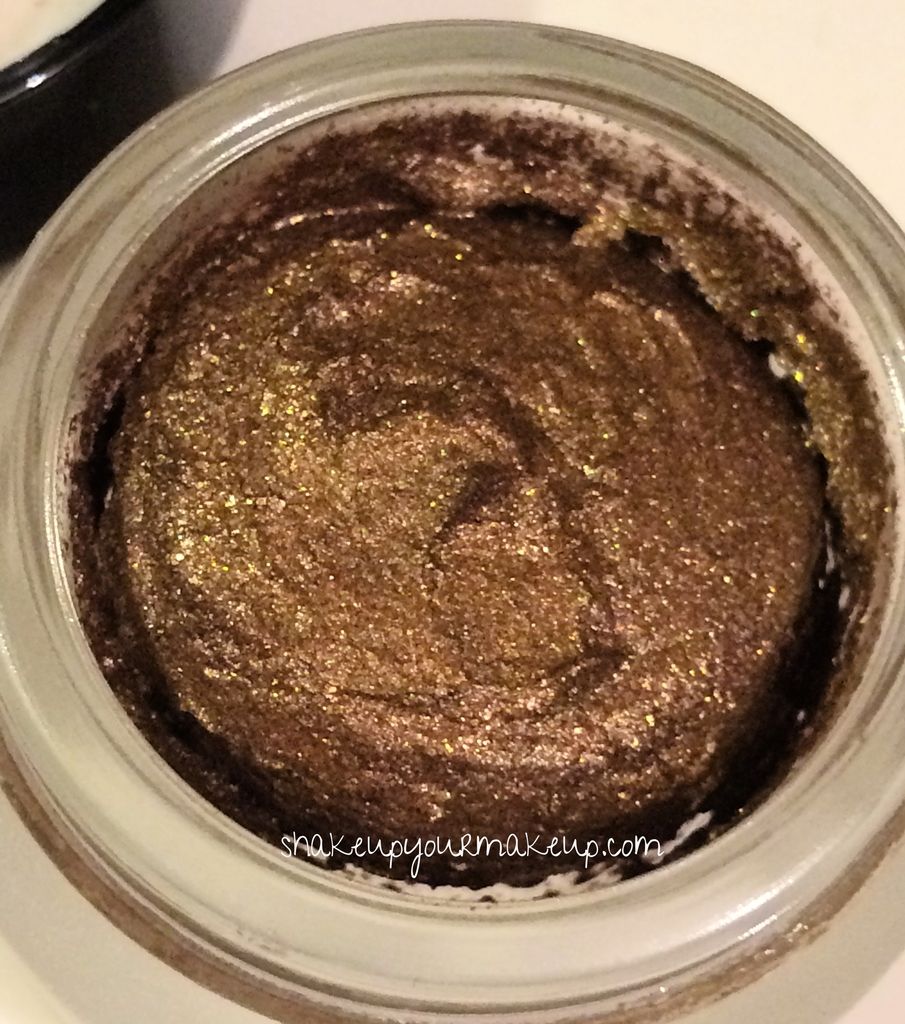
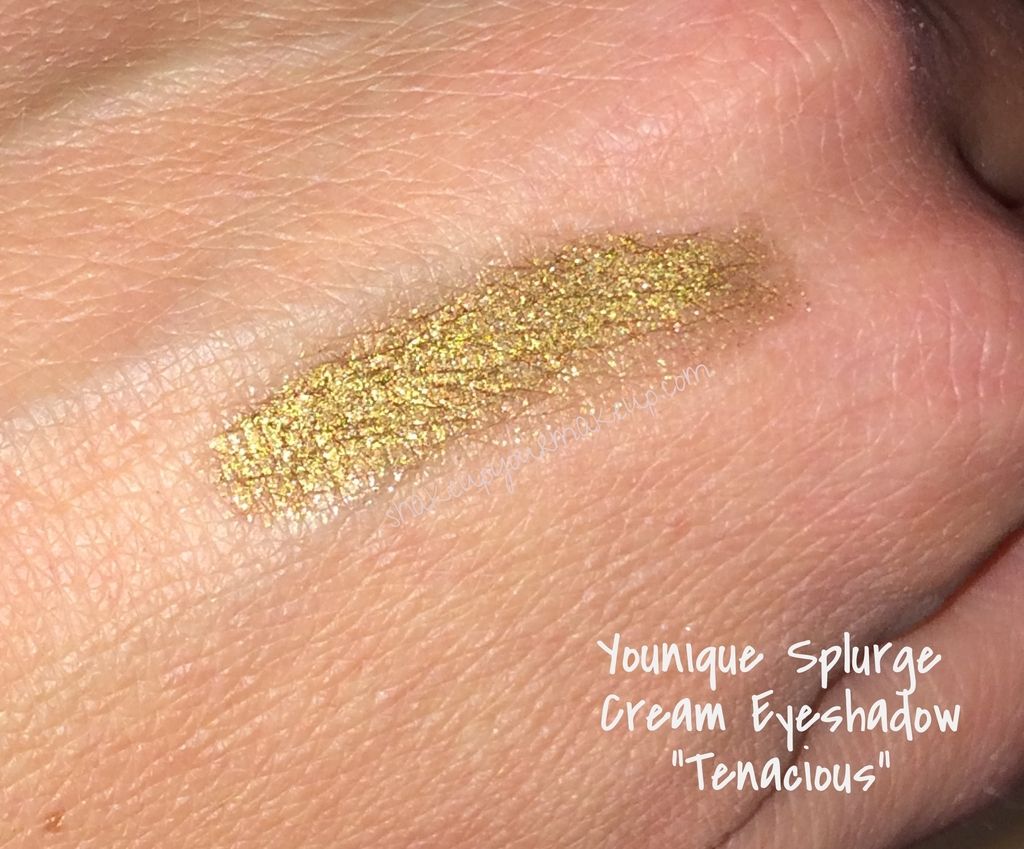
Look at how gorgeous this color is!  A rich, deep golden brown.  There is quite a bit of shimmer, but like I said, how "bold" this is on your lids is all a matter of application.  


Heavy handed swatch below.  This would be a gorgeous eyeliner - on my list of ways to try this!


Below is a quick video so you can see the shimmer and color.  This color is stunning.  A gorgeous antique golden brown.  Just enough gold to make this really pop on the lid, and the undertone shade is quite nice on many skin tones.  


Overall, this has been one of the best cream shadows for me.  Not only does it stay put - lasts all day long - it doesn't crease, smear, smudge or more importantly irritate my eyes.  Absolutely an A in my book.  The price is a little high, although you do get a lot of product and should last quite some time!

You can order this now through the Younique page here.  


ColourPop

EOTD: ColourPop Cosmetics Super Shock Eyeshadow in So Quiche

10:46 AM


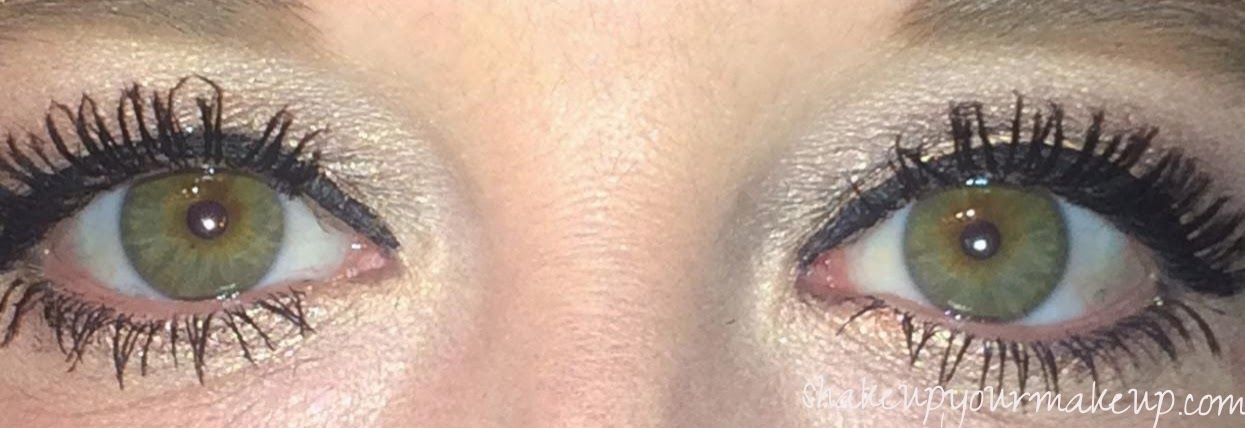
ColourPop are my new found go-to eyeshadows.  I posted swatches of I *Heart* This  a couple of weeks ago, and today I am bringing you So Quiche.  This color is unbelievably complex, and unfortunately very difficult for me to capture in a picture.  The base is a rich taupe with golden olive undertones.  Depending on the light, you capture taupe, and then it shifts to olive and gold.  On top of that, there is this gorgeous multichrome glitter, which changes from pinks, purples, greens and golds.  On me, the purples really show up, which contrasts the golden/olives of the actual base of the shadow.  I absolutely love this color.  It creates the most beautiful smokey eye, works beautifully on my lower lashline to add depth to the look, and lasts all day.  Like the other ColourPop shadows, I used my finger to apply and blended out with a synthetic brush.  

A closeup of the shadow, and multiple closeups of this on are below.  I am in love!


Color Workshop

Swatches: Color Workshop Kajal & Lash Set

12:52 PM


After the holidays are over...now that's when you really can get a good bargain.  Take this Color Workshop Kajal & Lash set from Walgreens.  Regular price, $5...but after Christmas, I found this guy 75% off, meaning it was $1.25!  Now, that is $1.25 for not one, but four Kajal eyeliners and a mascara (which immediately went into the trash as it did nothing for my lashes).  

The liners, though, where a different story.  I have to say I wasn't sure what to expect - probably chalky, brittle and non-pigmented.  These kajals were anything but - instead they were smooth.  Creamy.  Long lasting.  And VERY pigmented.  So pigmented, in fact, that the colors on my swatch did not come off after I washed my hands, or showered, or washed my hands again.  Particularly the blue.  But, a little makeup remover did the trick!  Also, they stayed put on my eyes.  No tears, not smudging in the corner....and no irritation.  For the price, I couldn't be happier with these four colors!  


The other bonus - colors other than black!  


Did any of you get lucky enough to grab these before, or after, the holidays?  

EOTD Blue

FOTD using Younique Pigments in Empowered, Dignified, Innocent,and Beautiful as well as NYX Sunset and Urban Decay Naked 2 Blackout

9:58 AM

\

This morning's FOTD/EOTD features more Younique products...this time, their pigments.  I wanted to play around with some greens and blues, so I picked Dignified and Empowered out of my samples, as well as a matte rust brown called Beautiful.  Empowered is a very pale sea foam green with golden duochrome.  Dignified is a rich turquoise, with sparks of green, blue and gold.  I mixed these colors with NYX Sunset, a rich orange to burnt orange frost and the Blackout shade from the Urban Decay Naked 2 pallet.  

The Younique pigments are very rich and, I know...shocker...PIGMENTED!  They are very smooth, creamy, and a little goes a long way.  I used the Dignified as a liner on the bottom by applying it wet, and it went on extremely smoothly and did not fall into the lines along my undereye.  The mattes applied effortlessly, without any chalkiness or grabbing and pulling on the lid.  I have been extremely impressed with how well the shadows blend together, to create that seamless transition between colors.  

On top of how workable these pigments are, let me tell you a few more things about them:

-  They are 100% Natural
-  They are chemical free
-  Mineral based
-  They are free of talc oils, preservatives, perfumes, synthetic dyes and parabens
-  No creasing, smudging or smearing!

At $10 a pop, these are going to last you a very long time, and are very versatile.  I can't wait to create some more looks and share them with you!

A few more shots, as well as full face FOTD's below.  As always, feel free to click the image to make larger!


To create the look above/below, here is what I used:

Face:
Laura Geller Spackle
It Cosmetics Bye Bye Undereye Concealer
Laura Geller Balance 'n Brighten - Fair
Mally Beauty Bronzer - contouring
Nars Blush in Orgasm

Eyes
Urban Decay Primer Potion - all over lid
Urban Decay Naked Pallet 2 Blackout - outer V and halfway through crease
Younique Pigment "Beautiful" - just above and blended into Blackout, and all the way across crease
NYX Sunset - blended above & into Younique Beautiful along crease
Younique Dignified - blended into blackout on outer corner/V and halfway across lid - applied wet along lower lashline
Younique Empowered - inner corner of lid
Younique Innocent - blended into NYX and up to browbone
Mally Mascara - one coat along lower lashline
Younique Moodstruck 3D Fiber Lashes - upper lashes

Lips:
Revlon Color Stay Mineral Lipglaze in Timeless Nude


(Click the picture above for a larger view of all available colors)


If you would like to order any of the pigments, mascara, or other Younique brands, feel free to click the link which takes you to my online Younique Party I'm hosting!

Mascara

Another look at Younqiue's Moodstruck 3D Fiber Lashes - Befores and Afters

2:17 PM


I have been using the Younique Moodstruck 3D lashes for several weeks now, and can't even explain how impressed I am with this product.  Not only does it give over-the-top length, but the dimension and thickness of the lashes are above and beyond as well.

I have tried several different ways of applying the product.  First, the way the directions describe (there's a thought!).  The product is designed to be applied as such:

1.  Apply a coat of your regular mascara and let dry.
2.  Apply a coat of the Younique Moodstruck Transplanting Gel.
3.  Immediately apply a coat of the Younique Moodstruck 3D Fibers 
4.  Repeat steps 2 and 3 as desired.

After several various methods of application, I have found out several things as far as my lashes and "everyday" mascara's are concerned.

1.  Use a light mascara.  By light I mean, don't use one of those mega-thickeners, as this can ultimately lead to spider lashes instead of a feathered lash effect.  Ultimately, I lean towards one coat of my standard: Mally Beauty mascara.  This coats my lashes with a rich black color, and helps them define.  

2.  Make sure to work quickly after you have applied the transplanting gel.  This makes sure the gel is still "wet" and can grab the fibers.  

3.  Work the fiber "mascara" wand back and forth in your lashes to create thickness.  If all you are looking for is length, brush from lashline to tip continual to straighten out the fibers, and ensure they are pulling your lashes up.

4.  Do not put the fibers all the way against your lashline - this prevents fall out into your lashes. 

5.  For added length, apply another coat of the gel at just the tips, and repeat with the fibers until desired length is achieved.

6.  Seal with Transplanting Gel when you have achieved the desired look.  This will prevent further fall out.  

Below is a before and after look.  The left eye has the Moodstruck 3D Fiber lashes (2 coats).  The right eye is has no mascara (1st picture), one coat of Mally (2nd picture) and 2 coats of Fiber Lash (3rd picture).  Amazing isn't it??


If you are interested in purchasing, I can certainly send you a link, or click here.  

Cover Girl

CoverGirl TruMAGIC Skin Perfector Soft Touch Base - Review and Swatches

10:56 AM


CoverGirl has introduced a new addition to the skin primer/perfector line up in the form of their truMAGIC Skin Perfector Soft Touch Base.  This compact can be used alone as a primer or on top of makeup as a mattifier, similar to Mally's Pore Perfector.  

The product comes in a large compact with a foam sponge applicator, which can easily be stored within the compact with the lid closed.  This is colorless, has no fragrance, and can be applied using your finger (under makeup) or with the sponge applicator (I recommend using this if applying on top of makeup).  


I am reviewing this as a makeup base.  I applied this with the sponge, but in hindsight I think using my fingers would be a lot more effective and efficient.  I have normal skin - not oily, and if anything slightly dry in the winter.  I paid special attention to areas under my eye and around my nostrils in an effort to minimize any fine lines that have developed there.  

In the two pictures below, the first without primer, and the second with primer, I don't notice a substantial difference, except the texture of the skin appears slightly (and I mean slightly) blurred in the bottom picture.  Unfortunately my camera died before I was able to take pictures with foundation on top of the primer.  


Overall, I found that my foundation went on smoothly on top of the primer.  I used Laura Geller's Balance 'n Brighten on top.  As the day progressed, the primer accentuated the drier patches of my skin, and my foundation stood out there.  I didn't really notice much of a difference in my fine lines or pores, so I don't know that I would use this as a primer, personally.  I do need to try this on top of my foundation as a mattifier/perfector to see if I could use the truMAGIC in that application.

In retrospect, would I buy this again?  Probably not.  I am in love with my Laura Geller primer, and will stick with that at this point, although I will always be on the hunt for a more cost efficient product to use.  

Have you tried the truMAGIC perfectors yet?  What are your thoughts?  

Retail: $8.99-9.99 at your local drug stores.  


Loreal

L'Oreal Voluminous Butterfly Mascara in Blackest Black

1:21 PM


I have seen a lot of chatter about the new L'oreal Voluminous Butterfly mascara on Instagram and around the blogs, so when I saw it at Walmart ($7.97) I picked up a tube of the Blackest Black to try out.  The tube itself is the standard Voluminous tube, but silver.  


The brush has a unique design.  Where the "top" portion of the brush is pretty standard for the Voluminous line, the bottom extends out to these long combs, reminiscent to me of the old Rimmel Extreme Volume, which had a comb brush.  This, the Voluminous, actually curves to fit the shape of the lashes, with the shorter combs being on the inside and the longer combs are on the outside.  

A couple different views of the comb below - all pics can be enlarged for better viewing.

(side view)

(top view)

Below is a closeup of the mascara on.  The product itself is definitely buildable.  I didn't experience any clumping, so you can definitely get a lot of length and can continue to build until you get to the volume you desire.  I really like how the brush gets up against the lashline, but I don't experience the smudging or smearing along the lashline I get with a standard brush that you are pushing up there to get close and pull across the lashes.  Because of the comb portion, I also feel like all of the lower lashes get a good coat of mascara, so it is enhancing the small lashes there.  I will say, the standard Voluminous and the Voluminous Million lashes seem to give me better volume.  


Bottom line - I like it.  I'd buy it again, although it isn't my all time favorite mascara.  Still, the brush and the price make this very price friendly and easy to use!

Popular Posts

Like us on Facebook